Film Slider documentation
Introduction
TemplateMonster FilmSlider module is an implementation of elegant and professional jQuery plugin ‘Slider Pro’. Allows you to add slider with multiple layers to your store home page. Rich collection of slider configuration options and user interface will help you to configure your slider fast and easily.
Installation
Attention!!!
Due to the peculiarities of the engine you will have to use any console environment with the command line. Module configuration will be mainly performed via the command line. If you perform changes on the hosting server, you can contact your hosting provider for help and use the hosting command line.First, copy the content of the archive (app folder) to the root folder of your online shop. After copying run the console and navigate to the root shop folder.
Then run the following commands in the command line, one by one:
- bin/magento setup:upgrade
- bin/magento index:reindex
- bin/magento cache:clean
After reindexing data and clearing cache, remove all the content from var and pub/static folders, except for .htaccess file. Now we are ready to navigate to the site admin panel to configure the module.
Extension settings
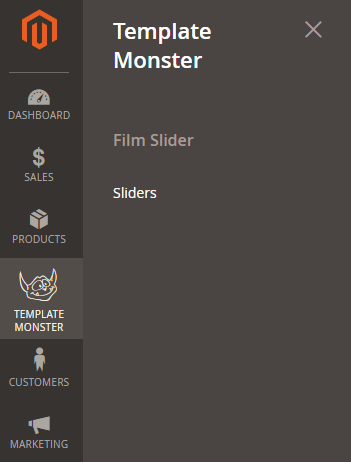
In the main navigation menu you’ll see new menu option TemplateMonster.
To start working with the FilmSlider module, click Template Monster -> Sliders menu item.
Here you can see a list of available sliders where you can disable/enable, delete or edit sliders.
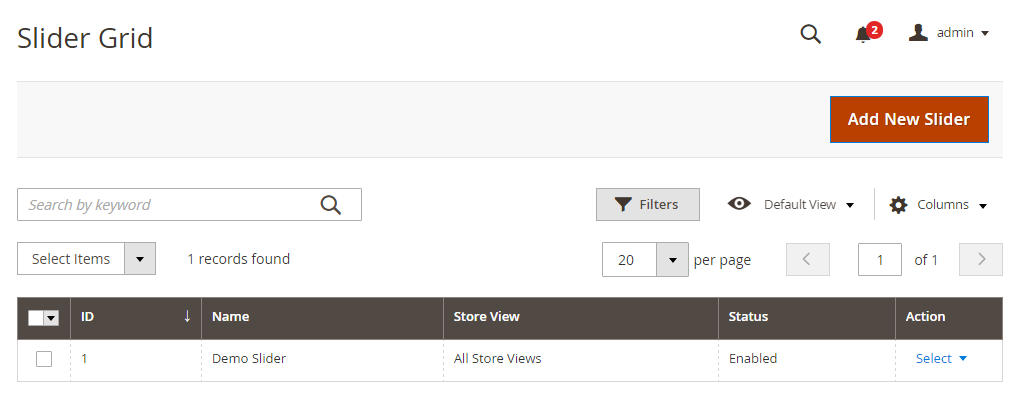
To add new slider click Add New Slider button in the top right corner.
On the slider configuration screen in General Options section you can see all available slider settings. Slider Items section allows you to add slides to your slider.
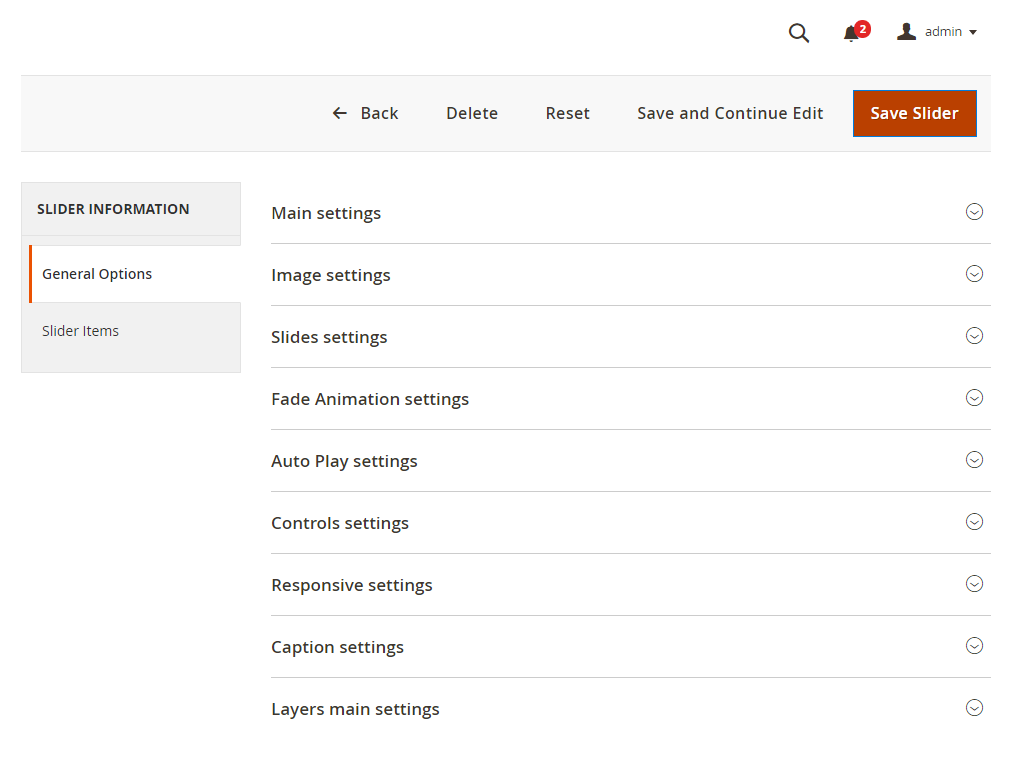
Let’s see what slider options are available. As you can see options are divided into several parts to make the configuration interface more user friendly.
General Options
Main Settings
This section allows you to set slider title, select store view, enable/disable slider, set its width and height. Each option refers to Slider Pro jQuery plugin property. You can find more specific description of each property in official Slider Pro documentation. Some jQuery plugin properties may not present in the FilmSlider configuration, we will add them in future releases.
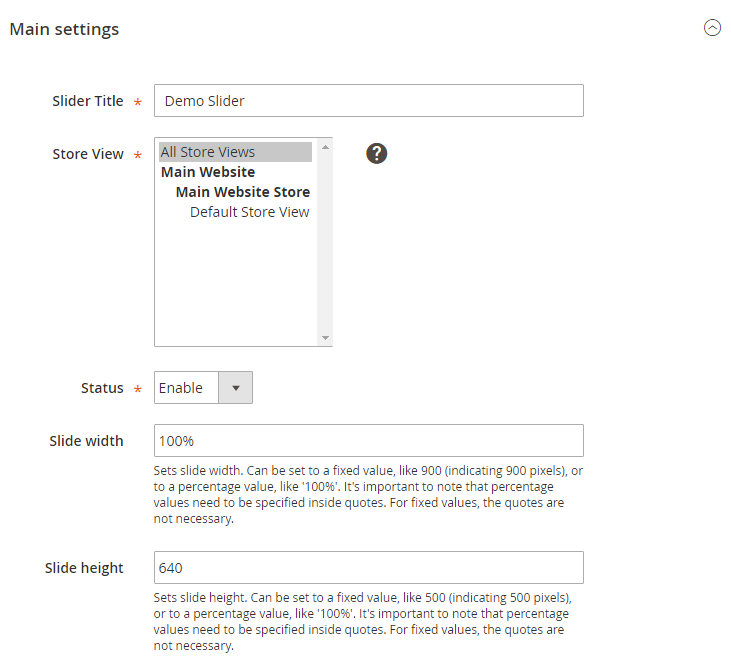
Image Settings
In image section you can adjust slider image configuration settings. Each option has a brief description. Let’s describe some of them more specifically.
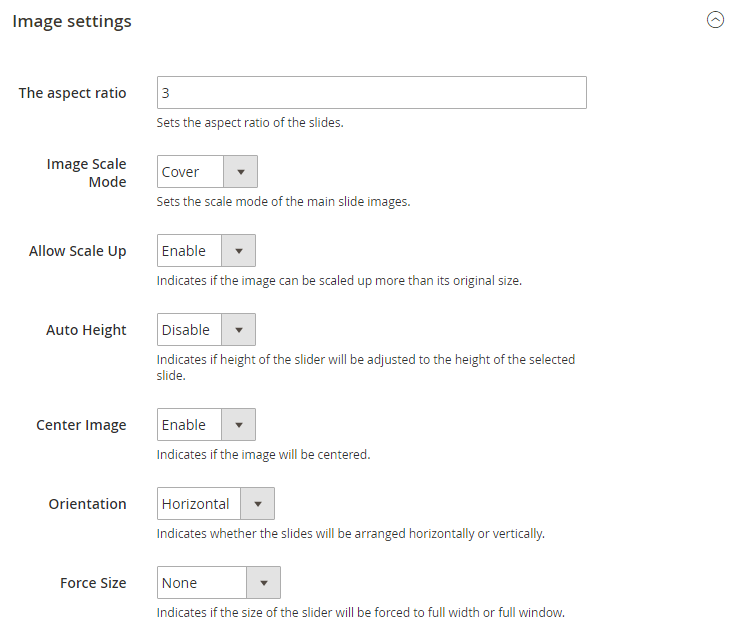
aspectRatio
Sets the aspect ratio of the slides. If set to a value different than -1, the height of the slides will be overridden in order to maintain the specified aspect ratio.imageScaleMode
Sets the scale mode of the main slide images (images added as background). 'cover' will scale and crop the image so that it fills the entire slide. 'contain' will keep the entire image visible inside the slide. 'exact' will match the size of the image to the size of the slide. 'none' will leave the image to its original size.forceSize
Indicates if the size of the slider will be forced to full width or full window.Slides settings
Slides settings section allows to configure slides behaviour. Here you can configure slides animation, visible slider size, slides shuffle and loop.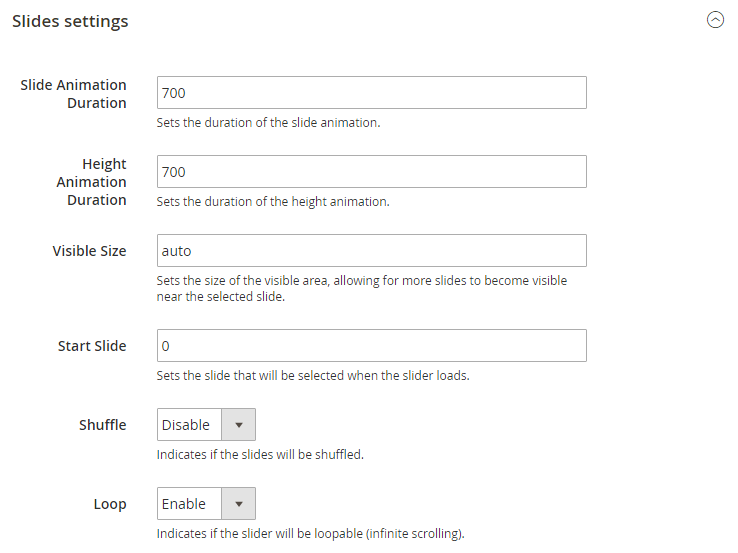
Fade animation settings
This section contains settings for fade animation. Fade animation can be enabled on slide switch.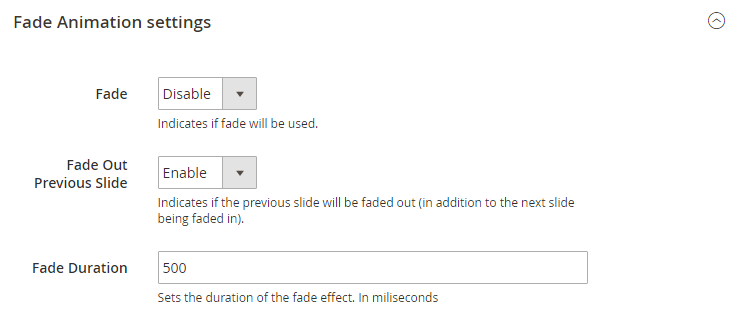
Auto play settings
Autoplay feature in Film Slider allows to loop through the slides automatically. This configuration settings contain options to configure auto play delay, direction and pause with mouse cursor on hover.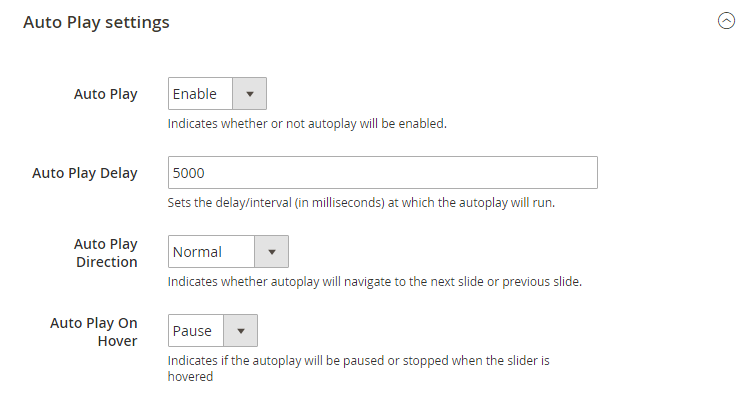
Controls settings
Slider controls are the navigation buttons that let you switch the slides. In FilmSlider there are several types of navigation controls: prev/next arrows, pagination buttons. Enabled keyboard navigation allows you to switch between the slides using keyboard. Also, you can enable button that will switch slider to the full screen mode.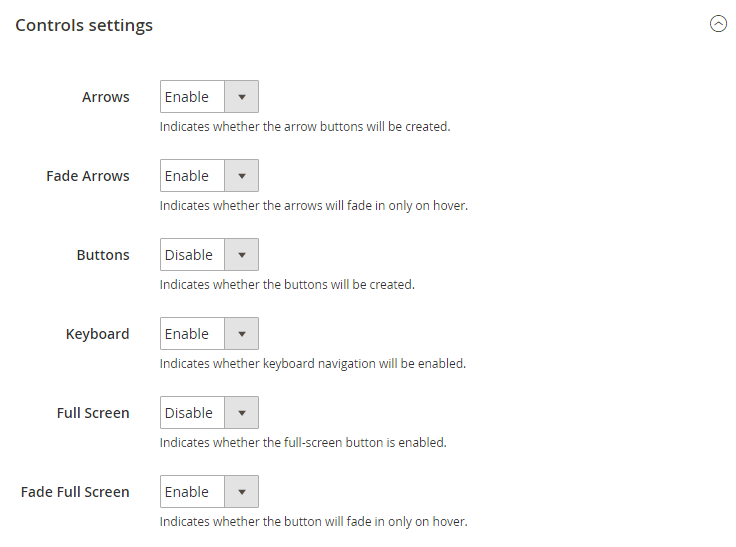
Responsive settings
Responsive settings section configures slider behaviour on mobile devices. Here you can define screen width breakpoints (small, medium, large). Also, you can enable touch swipe behaviour to let user switch between the slides with swipe gestures.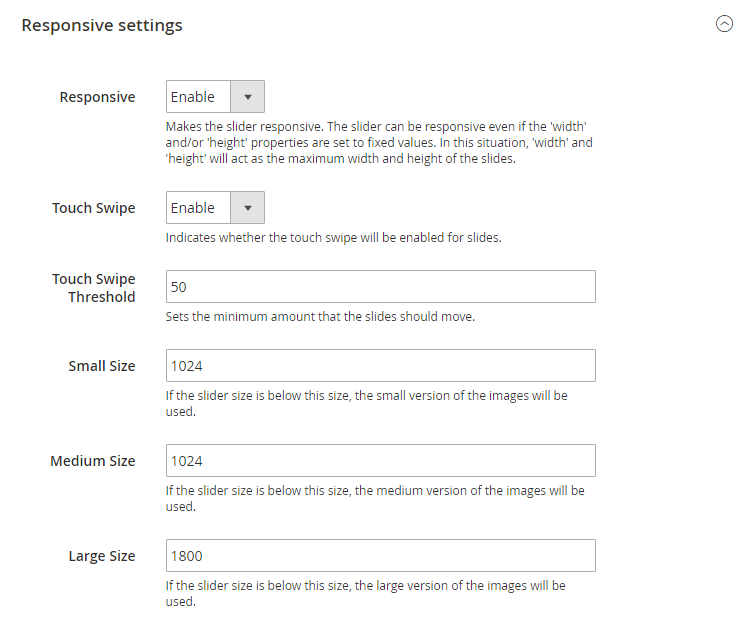
Caption Settings
Caption feature allows to add text to each slide. This section allows you to enable caption fade animation and set its duration.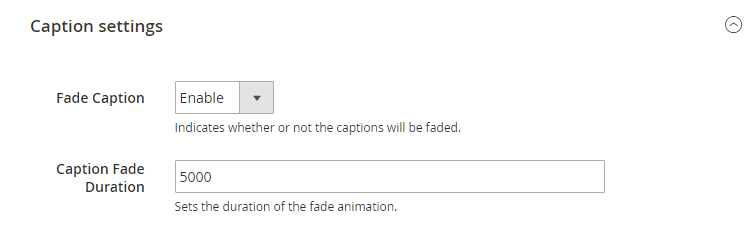
Layers main settings
Layers configuration settings contain slides layers behaviour. Each option has a brief description under the input fields.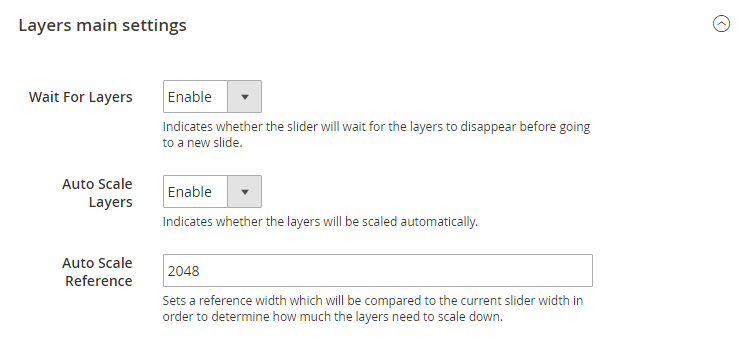
Adding Slides
You can add new slides only after saving the slider. Click Save and Continue Edit button in the top right corner. When the slider is saved, switch to Slider Items tab.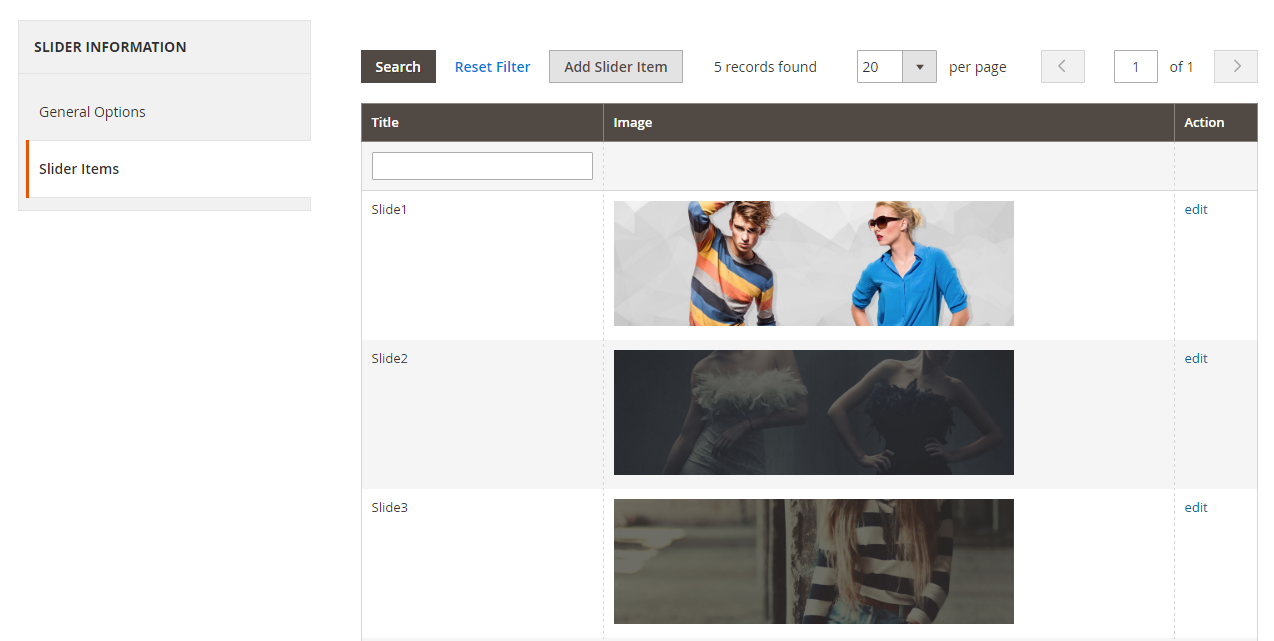
Slide Information
Here you can input slide title and set its status (enabled/disabled).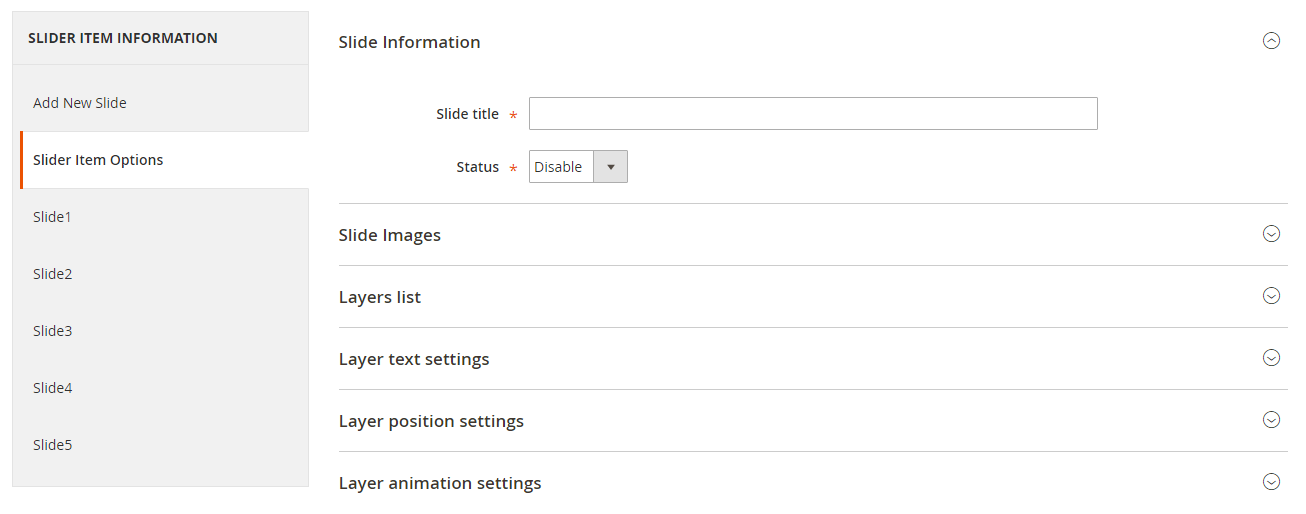
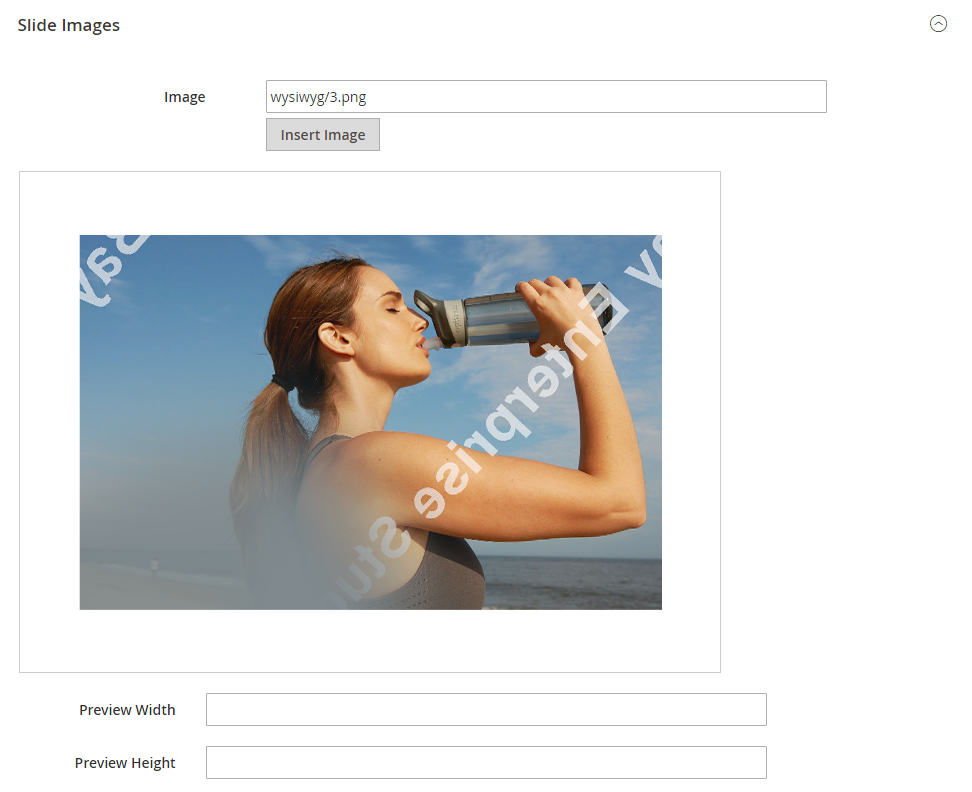
Slide Images
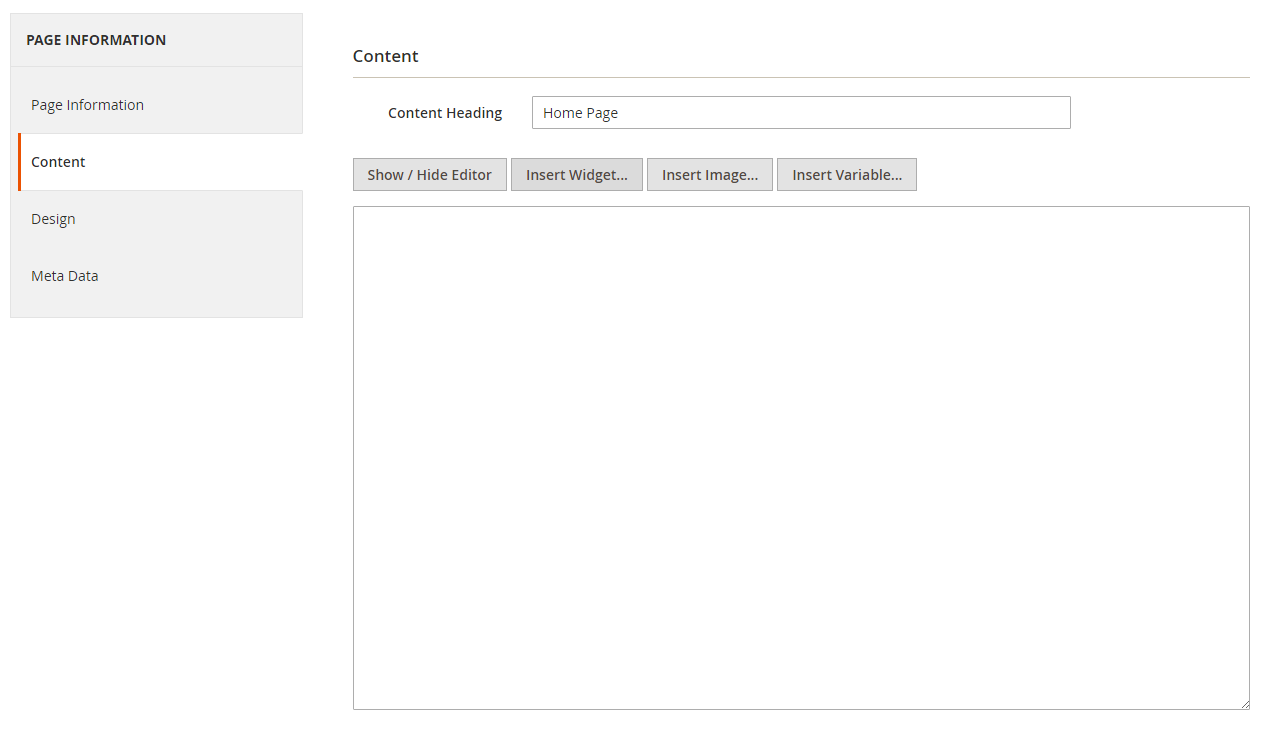
This section allows you to add images to the slide. Click Insert Image button to open Image library where you can select available images.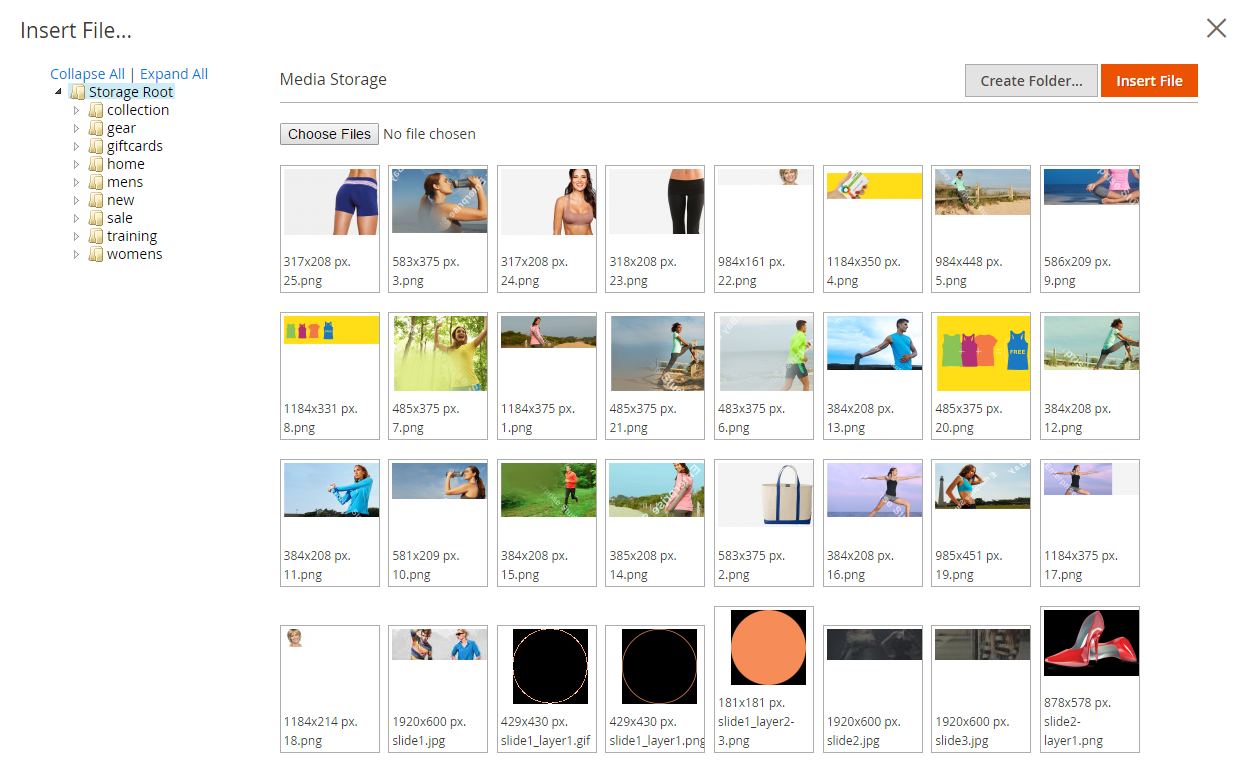
Working with layers
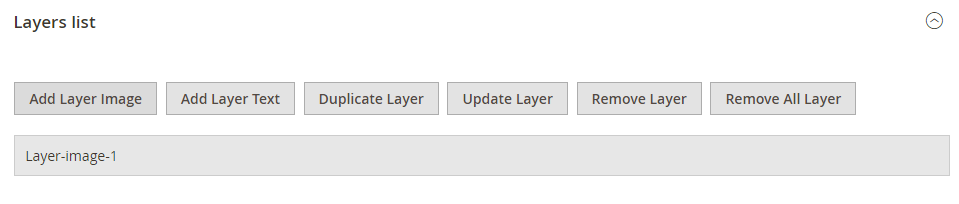
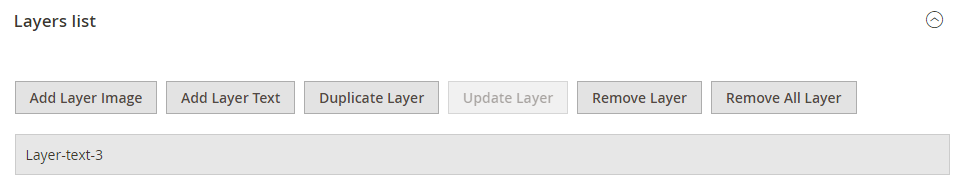
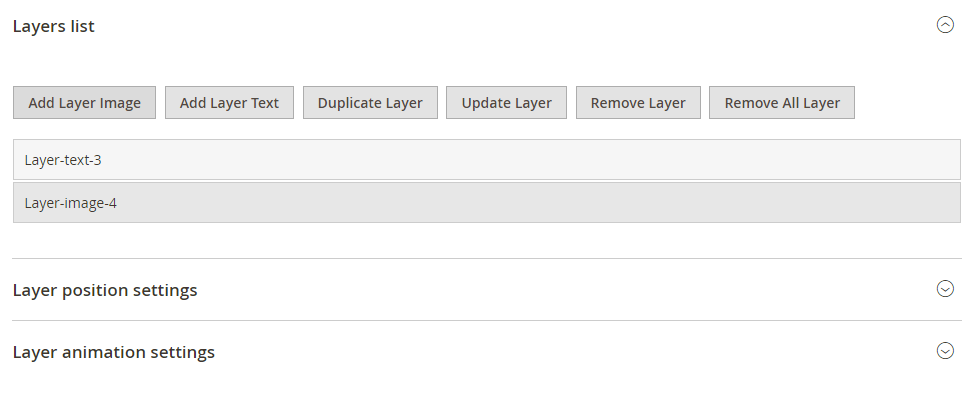
FilmSlider is a multi-layer slider. This mean that your can add multiple independent layers to your slide. Layers can be added to the slide on the slide configuration screen described above. This screen contains several sections of layers settings.Layers list
Layers list section allows to add layers to your slide. You can add image layers and text layers. Use corresponding buttons to add layers.
Layer text settings
Using Layer text settings section you can input layer text, layer size, colors, font styling, etc.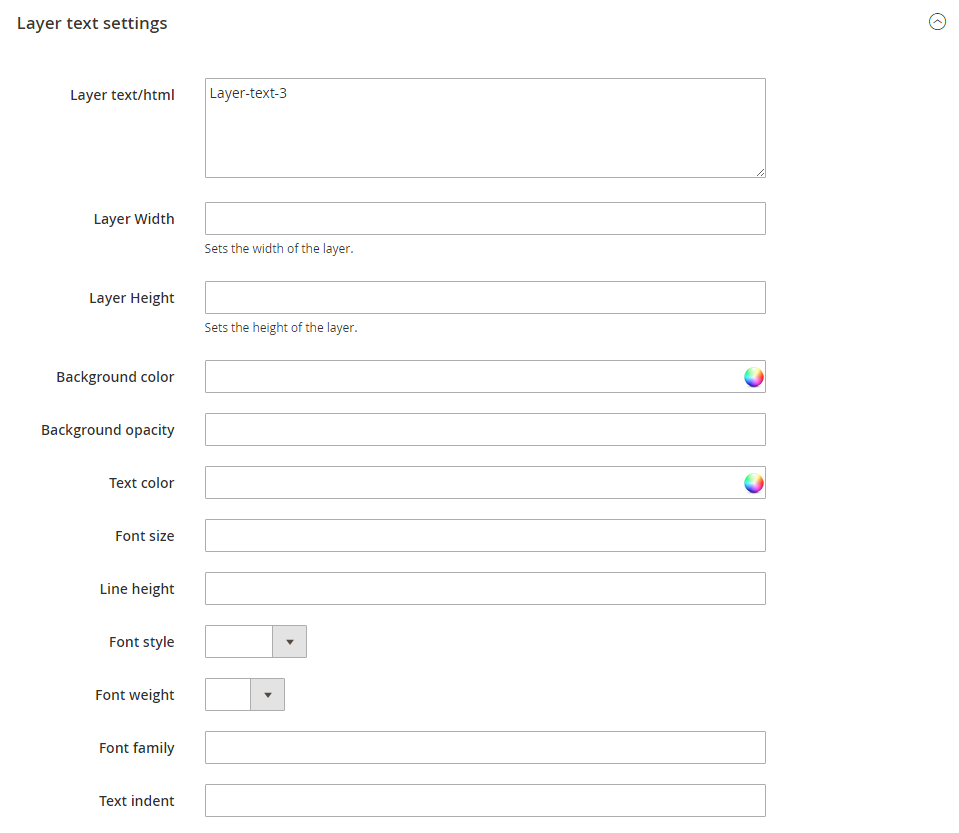
Layer text position settings
In this section you can define text layer position.
Layer animation settings
This section allows you to define layer animation. You can set its position on the slide, set transition, offsets, delay, duration, etc.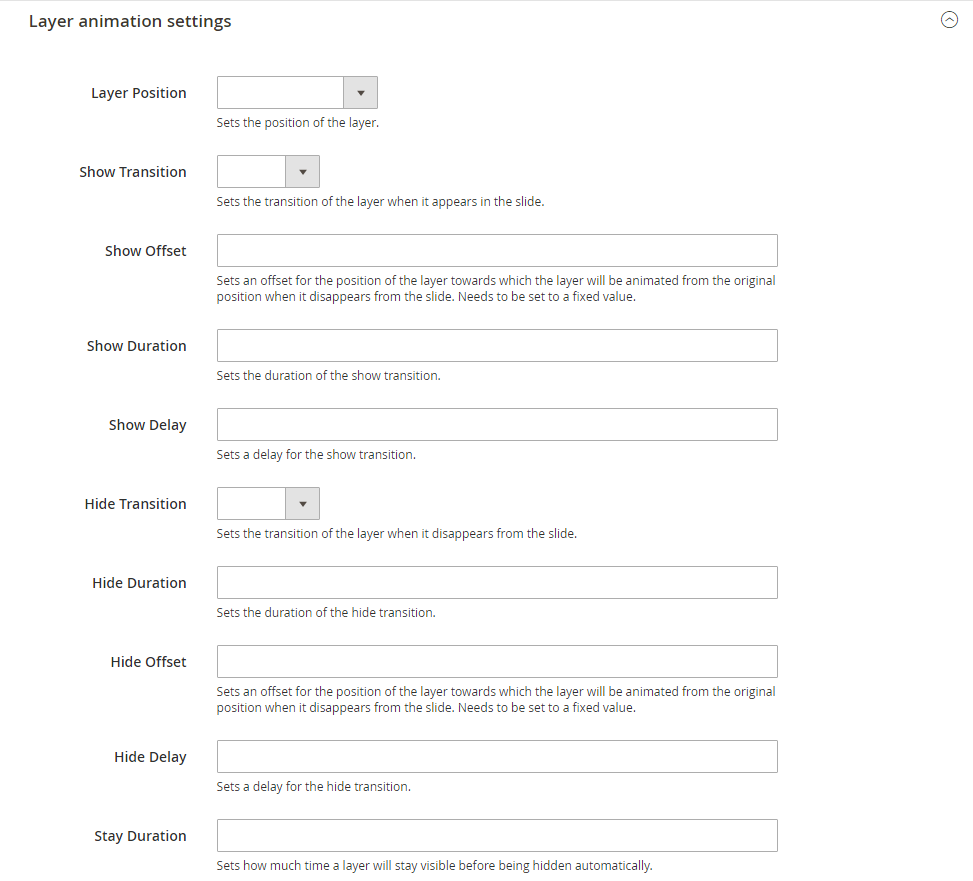
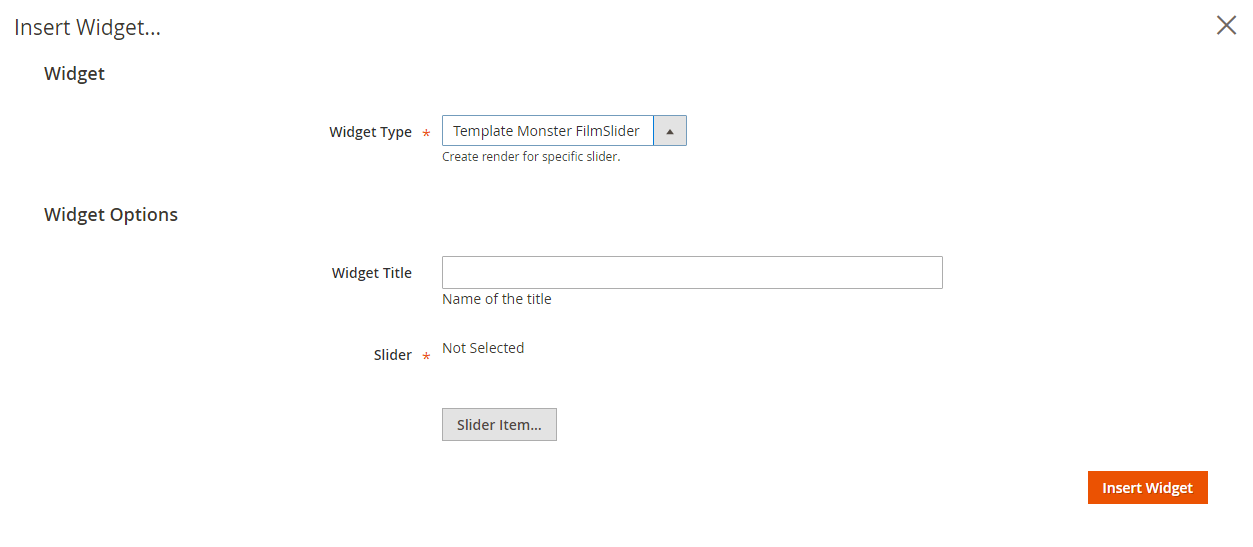
Adding slider to page
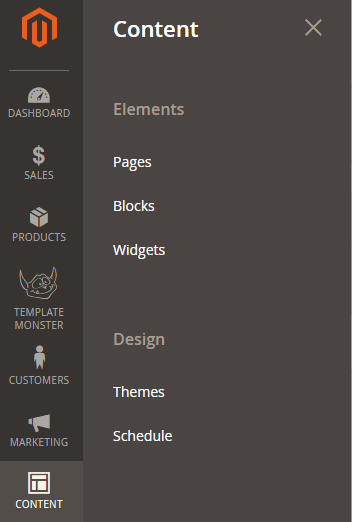
To add slider to your page please use Magento widgets. In the main admin panel menu click Content -> Pages item.